How to Build a Crypto Trading System Using Python & APIs January, 2026
Want to automate your crypto trades? This guide walks you through building a full trading system using Python and exchange APIs—from data collection to live execution.
 Written by Nikolas Sargeant
| Avgifter | Insättningsalternativ | |||||||||
|---|---|---|---|---|---|---|---|---|---|---|
| Namn | Kryptos | Taker | Maker | Uttag | Banköverföring | Kreditkort | Trading API | Grundades år | Offer | |
|
Bybit
Contract Trading Exchanges
|
188 | 0.06% | 0.01% | 0.0005 | 2018 |
FÅ UPP TILL 600 USD I BONUS!
|
Besök | |||
|
Binance
Centralized Exchanges
|
433 | 0.10% | 0.10% | 0.0002 | 2017 |
FÅ UPP TILL USD 100 I VÄLKOMSTBONUS
|
Besök | |||
|
KuCoin
Centralized Exchanges
|
637 | 0.10% | 0.10% | 0.0005 | 2017 |
FÅ UPP TILL 500 USDT I VÄLKOMSTBONUS
|
Besök | |||
|
Coinbase
Centralized Exchanges
|
136 | 2.00% | 2.00% | 0.000079 | 2012 |
FÅ 5 USD I VÄLKOMSTBONUS
|
Besök | |||
Before diving into live crypto trades and algorithmic strategies, you need a reliable development setup. Python is one of the most popular languages in finance and algorithmic trading for good reason—it’s easy to learn, well-supported, and rich in data science libraries.
Why Python?
- Readable syntax: Ideal for fast prototyping and iteration
- Robust libraries: Ecosystem includes tools for data analysis (pandas, numpy), visualization (matplotlib, plotly), and technical indicators (ta, bt, backtrader)
- Open-source: Supported by a massive community with tutorials, forums, and GitHub projects

Setting Up Your Environment
You’ll want a clean, isolated workspace to manage dependencies and experiment freely.
1. Install Python ≥ 3.8
Download the latest version from python.org.
2. Use a virtual environment (recommended):
# CopyEdit
python -m venv crypto-env
source crypto-env/bin/activate # macOS/Linux
crypto-env\Scripts\activate # Windows
3. Choose an IDE or notebook interface:
- VSCode: Lightweight and flexible
- Jupyter Notebook: Interactive and great for data visualization
- PyCharm: Full-featured IDE, great for large projects
Install Essential Libraries
Use pip to install the core packages:
- bash
- CopyEdit
- pip install requests pandas numpy matplotlib ta
Library Roles:
- requests: Interact with exchange APIs
- pandas: Handle time-series data
- numpy: Math operations and arrays
- matplotlib: Basic plotting and data visualization
- ta: Generate technical indicators (RSI, MACD, etc.)
Test Your Setup
Create a quick test script to verify everything is working:
- python
- CopyEdit
- import requests
- import pandas as pd
response = requests.get('https://api.binance.com/api/v3/ticker/price')
data = response.json()
df = pd.DataFrame(data)
print(df.head())
If you see a small table with symbol and price values—congrats! You’re ready to begin.
Choosing an Exchange & API
To build a functioning crypto trading system, you need reliable access to both live market data and order execution. This is done through APIs provided by major crypto exchanges. Most use REST architecture and respond with JSON, making them easy to integrate with Python.
Selecting an Exchange
Not all exchanges are created equal. When choosing one, consider liquidity, API documentation, geographical restrictions, and support for paper trading (sandbox environments). Below is a brief comparison of commonly used platforms:
|
Exchange |
Pros |
Cons |
|
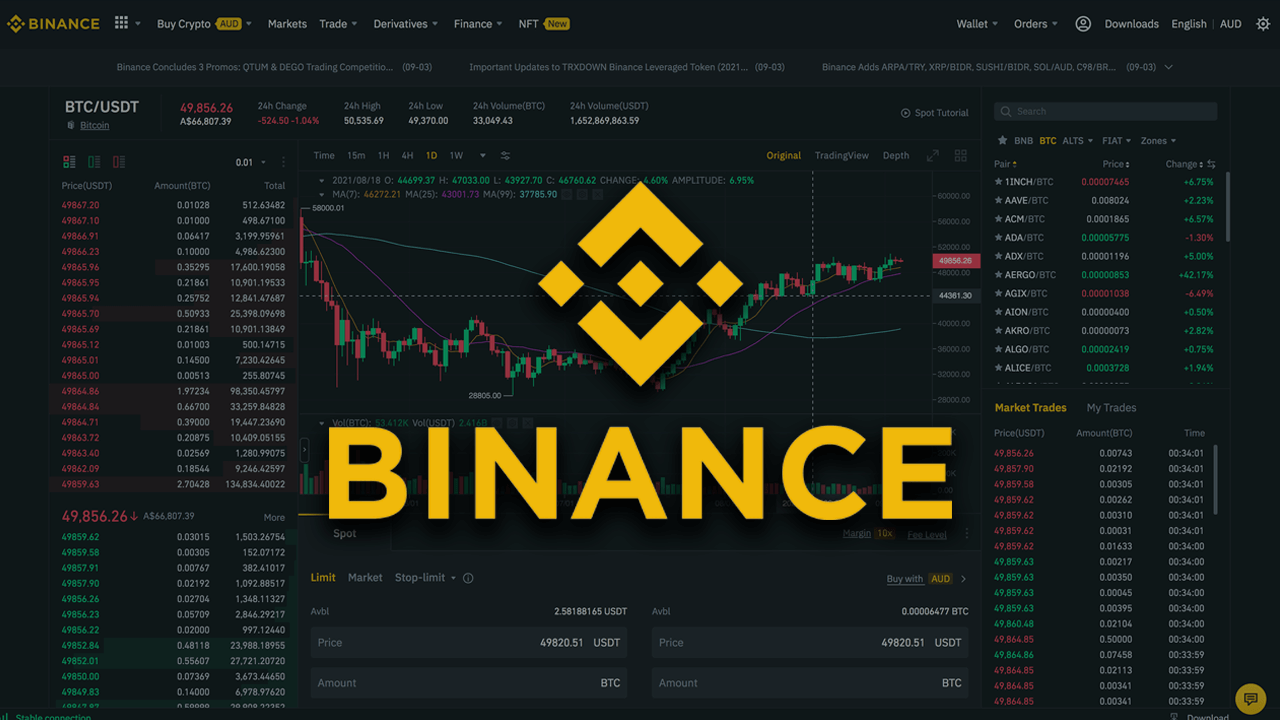
Binance |
High liquidity, solid documentation, low fees |
Limited access for U.S. users via Binance.US |
|
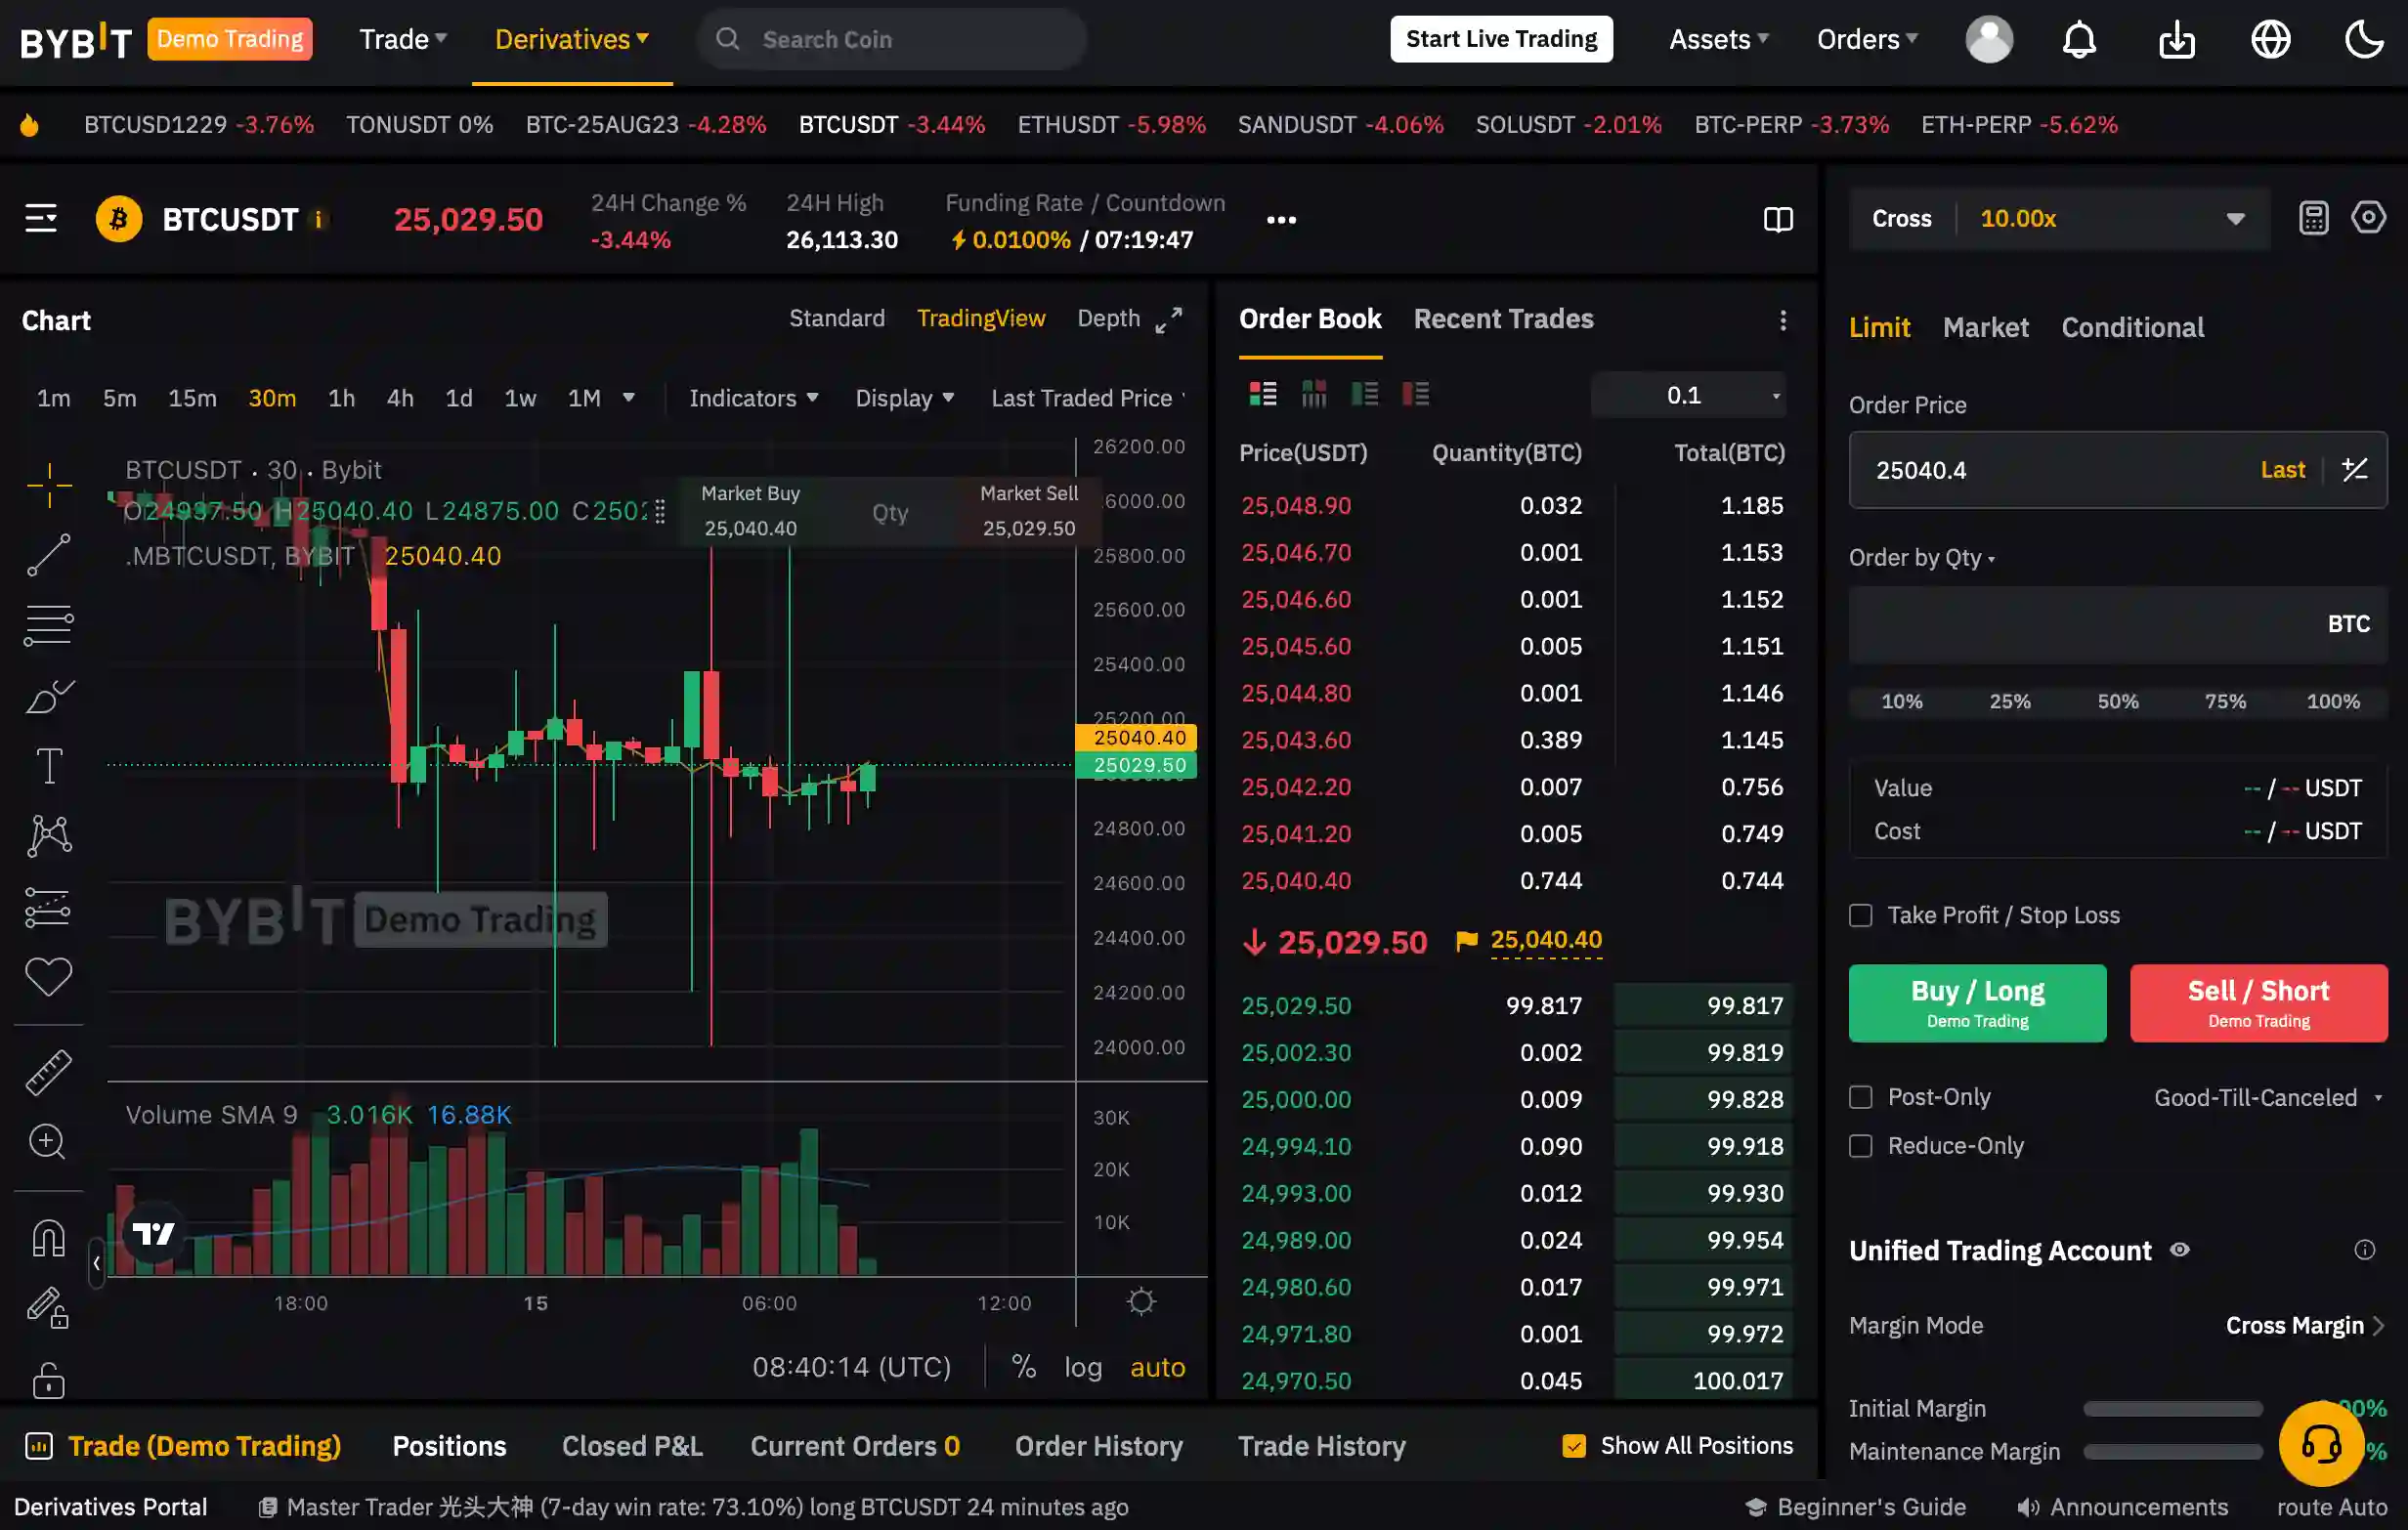
Bybit |
Derivatives support, responsive API, testnet |
Some geographic restrictions |
|
Coinbase |
Clean API, beginner-friendly |
Higher trading fees |
|
KuCoin |
Wide asset range, good global access |
Increasing KYC requirements |
For development and testing, Binance and Bybit offer sandbox environments that allow simulated trading without risking capital.
Creating and Securing API Keys
Once registered, you can generate API keys within the exchange's dashboard. Most platforms provide:
- API Key: Public identifier for your app
- Secret Key: Used to sign requests (keep this private)
You’ll often have to set specific permissions (e.g., enable trading, restrict withdrawals). It’s good practice to disable withdrawal access for added security.
Store your keys outside of your codebase. One approach is using environment variables:
# CopyEdit
import os
API_KEY = os.getenv("BINANCE_API_KEY")
These variables can be set in your terminal session, stored in .env files, or managed with tools like python-dotenv.
Making Your First API Call
Here’s an example fetching live price data from Binance:
url = "https://api.binance.com/api/v3/ticker/price"
response = requests.get(url)
data = response.json()
print(data[:5])
This call returns a list of trading pairs and their most recent prices.
Handling API Limits
Most exchanges enforce request limits. For example, Binance allows up to 1,200 requests per minute. If you exceed the limit, you may receive a 429 Too Many Requests error.
Best practices:
- Avoid unnecessary polling
- Respect rate limits with time.sleep() or backoff strategies
- Cache historical or infrequently changing data
Pulling & Structuring Market Data
Market data is the foundation of every trading system. Before building strategies or placing trades, you need to collect, organize, and understand the structure of the data you’re working with. This section walks through how to fetch, format, and prepare historical and real-time price data using Python.
Types of Market Data
Exchanges typically provide several categories of data through their APIs:
- Ticker Data: Latest price for each trading pair
- OHLCV Data: Open, High, Low, Close, Volume over fixed intervals (e.g. 1m, 1h, 1d)
- Order Book Depth: Bid/ask levels at various prices
- Trade History: Individual trades with price, size, timestamp
For most strategies, especially technical analysis, OHLCV (candlestick) data is the most useful.
Fetching Historical Price Data
Let’s take Binance as an example. You can fetch OHLCV (also called klines) data like this:
# CopyEdit
import requests
import pandas as pd
def get_ohlcv(symbol="BTCUSDT", interval="1h", limit=500):
url = "https://api.binance.com/api/v3/klines"
params = {"symbol": symbol, "interval": interval, "limit": limit}
response = requests.get(url, params=params)
data = response.json()
# Convert to DataFrame
df = pd.DataFrame(data, columns=[
"timestamp", "open", "high", "low", "close", "volume",
"close_time", "quote_asset_volume", "num_trades",
"taker_buy_base", "taker_buy_quote", "ignore"
])
df["timestamp"] = pd.to_datetime(df["timestamp"], unit='ms')
df.set_index("timestamp", inplace=True)
return df[["open", "high", "low", "close", "volume"]].astype(float)
df = get_ohlcv()
print(df.head())
This will give you a structured dataset suitable for charting, indicators, and backtesting.
Working with Pandas
Once the data is in a DataFrame, you can easily resample it to different timeframes:
# CopyEdit
df_daily = df.resample("1D").agg({
"open": "first",
"high": "max",
"low": "min",
"close": "last",
"volume": "sum"
})
You can also calculate returns or apply rolling windows:
# CopyEdit
df["returns"] = df["close"].pct_change()
df["rolling_mean"] = df["close"].rolling(window=20).mean()
Data Hygiene and Storage
To avoid repeatedly pulling the same data from the exchange:
- Save raw data to CSV using df.to_csv("BTCUSDT_1h.csv")
- Use local caching if running live strategies
- Always check for missing or duplicate timestamps
Designing a Simple Trading Strategy
With structured price data in hand, you can begin building a trading strategy. A strategy defines the logic your bot will use to decide when to enter and exit trades. This section covers key principles of strategy design and walks through a moving average crossover system in Python.

What Makes a Trading Strategy?
Every trading strategy includes at least these components:
- Entry Condition – What triggers a buy or short position
- Exit Condition – When to sell or close the position
- Risk Management – Position sizing, stop-loss, max drawdown limits
- Market Filter – Optional condition to avoid trades in low-quality environments
You can start simple and iterate based on backtest results.
Common Technical Strategies
Here are a few beginner-friendly strategies to consider:
- Moving Average Crossovers: Buy when short MA crosses above long MA
- RSI Overbought/Oversold: Buy when RSI < 30, sell when RSI > 70
- Breakout Strategies: Buy when price breaks above previous high
Let’s walk through an example.
Example: Moving Average Crossover Strategy
This strategy buys when a short-term moving average crosses above a long-term one, and sells when the opposite occurs.
# CopyEdit
import pandas as pd
import matplotlib.pyplot as plt
import ta
# Assume df is already loaded with OHLCV data
df["sma_short"] = df["close"].rolling(window=20).mean()
df["sma_long"] = df["close"].rolling(window=50).mean()
# Generate signal
df["position"] = 0
df.loc[df["sma_short"] > df["sma_long"], "position"] = 1
df.loc[df["sma_short"] < df["sma_long"], "position"] = -1
# Shift to simulate trade entry at next candle
df["position"] = df["position"].shift(1)
Visualizing the Strategy
# CopyEdit
plt.figure(figsize=(12, 6))
plt.plot(df["close"], label="Price", alpha=0.5)
plt.plot(df["sma_short"], label="SMA 20", linestyle="--")
plt.plot(df["sma_long"], label="SMA 50", linestyle="--")
plt.legend()
plt.title("Moving Average Crossover Strategy")
plt.show()
This gives you a visual sense of how signals align with price action.
Strategy Logic Summary
- Long position (buy): When sma_short > sma_long
- Short position (sell): When sma_short < sma_long
- Flat: When they are equal or no clear crossover
- Position size: To be added in execution layer
This basic structure can be extended with filters (e.g., only trade if volume is above average) or additional indicators. In the next section, you’ll learn how to backtest your strategy to evaluate its performance historically.
Backtesting Your Strategy
Before risking real capital, it’s critical to backtest your strategy using historical data. Backtesting simulates trades based on past price movements to evaluate performance, spot weaknesses, and refine logic.
This section covers how to create a basic backtest engine in Python using pandas, and introduces key metrics like returns, Sharpe ratio, and drawdown.
Key Backtesting Concepts
A proper backtest answers the following:
- How would the strategy have performed over time?
- What were the win/loss rates and drawdowns?
- How volatile were the returns?
- Was the strategy profitable net of trading costs?
Backtests should reflect real-world constraints (latency, slippage, fees), though this first example will be simplified.
Coding a Simple Backtest Loop
# CopyEdit
# Calculate daily returns
df["returns"] = df["close"].pct_change()
# Strategy returns = position from previous day × return today
df["strategy_returns"] = df["position"].shift(1) * df["returns"]
# Cumulative returns
df["cumulative_market"] = (1 + df["returns"]).cumprod()
df["cumulative_strategy"] = (1 + df["strategy_returns"]).cumprod()
We’ll simulate trades using the moving average crossover strategy from the last section.
Visualizing Strategy Performance
# CopyEdit
import matplotlib.pyplot as plt
plt.figure(figsize=(12, 6))
plt.plot(df["cumulative_market"], label="Market Return")
plt.plot(df["cumulative_strategy"], label="Strategy Return")
plt.title("Backtest Performance")
plt.legend()
plt.grid(True)
plt.show()
This chart shows how your strategy performed compared to simply holding the asset.
Risk & Performance Metrics
Use these to objectively evaluate performance:
-
Total return: Final value of cumulative_strategy - 1
Annualized Sharpe ratio:
# CopyEdit
sharpe = (df["strategy_returns"].mean() / df["strategy_returns"].std()) * (252 ** 0.5)
Max drawdown:
# CopyEdit
cum_returns = df["cumulative_strategy"]
peak = cum_returns.cummax()
drawdown = (cum_returns - peak) / peak
max_drawdown = drawdown.min()
Common Pitfalls in Backtesting
- Lookahead bias: Using data from the future to make a decision today
- Overfitting: Strategy performs well on past data but poorly in real-time
- Survivorship bias: Ignoring assets that no longer trade
Always validate your logic carefully and keep the strategy as simple as possible until proven.
Backtesting Libraries (Optional)
You can expand your backtest using Python packages like:
- backtrader – Full-featured, object-oriented backtesting and live trading
- bt – Simpler and great for portfolio strategies
- zipline – Legacy backtester with historical data handling
Building a Live Trading System
Once you’ve validated your strategy with historical data, you can move into real-time execution. This section covers how to turn your backtested logic into a live trading bot using exchange APIs, while including basic risk management and order-handling infrastructure.

Architecture of a Live Trading Bot
At its simplest, a live trading system consists of:
- A data feed (API or WebSocket)
- Signal logic (your strategy)
- An execution module (place orders)
- A risk management layer
- Logging and error handling
All of this should run continuously and reliably.
Real-Time Price Data
You can either:
- Poll REST endpoints at regular intervals (e.g., every 5 seconds)
- Use WebSockets for low-latency streaming (better but more complex)
Example (polling current price with Bybit):
# CopyEdit
import requests
def get_current_price(symbol="BTCUSDT"):
url = "https://api.bybit.com/v2/public/tickers"
params = {"symbol": symbol}
response = requests.get(url, params=params)
return float(response.json()["result"][0]["last_price"])
Placing Orders via API
Here's a simple example of sending a market buy order (Bybit):
# CopyEdit
import time
import hmac
import hashlib
def place_market_order(api_key, api_secret, symbol, qty, side="Buy"):
url = "https://api.bybit.com/v2/private/order/create"
timestamp = str(int(time.time() * 1000))
params = {
"api_key": api_key,
"symbol": symbol,
"side": side,
"order_type": "Market",
"qty": qty,
"time_in_force": "GoodTillCancel",
"timestamp": timestamp
}
# Create signature
sorted_params = "&".join([f"{k}={params[k]}" for k in sorted(params)])
signature = hmac.new(
api_secret.encode("utf-8"),
sorted_params.encode("utf-8"),
hashlib.sha256
).hexdigest()
params["sign"] = signature
response = requests.post(url, data=params)
return response.json()
You’ll need to handle response codes, rate limits, and possible rejections or timeouts.
Risk Management Basics
Never go live without defining clear boundaries:
- Max position size (e.g., 5% of total capital)
- Stop-loss level (e.g., 2% per trade)
- Cooldown periods after losses
- Daily max loss limits
Example: Skip trade if volume is too low or capital risk is too high.
# CopyEdit
if capital_allocated > max_allocation or signal is None:
continue
Logging & Monitoring
Always log key events:
- Signal generated
- Order placed (success or fail)
- API errors or retries
- Account balance snapshots
Use logging module instead of print() to keep persistent logs:
# CopyEdit
import logging
logging.basicConfig(filename='trading_bot.log', level=logging.INFO)
logging.info("Trade executed at 12:30 UTC")
Error Handling and Fail-Safes
Live environments are messy, plan for it. You may lose connection, receive malformed data, or hit rate limits.
- Use try/except blocks around all API calls
- Implement retry logic with delays
- Fail safely: if unsure, close position or go flat
Final Thoughts
Your first live trading bot doesn’t need to be perfect. The goal is to build something reliable and consistent, even if it trades very infrequently. Start with small capital or paper trading mode before scaling up.
Automation and Scheduling
With your trading bot logic complete, you need a way to run it consistently. Whether you’re executing once per hour or every minute, automation ensures your strategy operates without manual intervention.
This section shows how to schedule your bot to run continuously and introduces tools for task automation, server deployment, and notifications.

Local vs Cloud Execution
You have two main deployment options:
- Local machine: Easy to test, but requires your computer to stay on and connected.
- Cloud/VPS (Virtual Private Server): Reliable, runs 24/7. Services like AWS EC2, DigitalOcean, or Linode are popular choices.
For production bots, a VPS is strongly recommended.
Scheduling with schedule or cron
Option 1: Python schedule module
You can run your trading function at fixed intervals.
# CopyEdit
import schedule
import time
def run_bot():
print("Running trading logic...")
schedule.every().hour.at(":00").do(run_bot)
while True:
schedule.run_pending()
time.sleep(1)
Option 2: Unix cron jobs
More lightweight and OS-native.
Create a shell script to run your bot:
# CopyEdit
#!/bin/bash
/usr/bin/python3 /home/youruser/trading_bot.py
Add a cron entry:
# CopyEdit
0 * * * * /home/youruser/run_bot.sh
This runs the script at the top of every hour.
Sending Alerts
It’s useful to be notified when trades execute or something fails. You can set up:
- Email alerts (using smtplib)
- Telegram messages (via a bot token)
- Slack notifications (using webhooks)
Example: Send a Telegram message
# CopyEdit
import requests
def send_telegram(text):
token = "your_bot_token"
chat_id = "your_chat_id"
url = f"https://api.telegram.org/bot{token}/sendMessage"
requests.post(url, data={"chat_id": chat_id, "text": text})
Logging Trades
Every trade should be logged to a CSV or database for auditing and analysis:
# CopyEdit
import csv
with open("trades.csv", "a", newline="") as f:
writer = csv.writer(f)
writer.writerow([timestamp, symbol, side, price, size])
You can later analyze these logs to compute performance or visualize trades.
Security & Best Practices
When running an automated trading system, security and reliability matter as much as performance. A mistake in handling your API keys or a poorly written loop could result in unintended trades, financial loss, or a locked account.
This section outlines key security principles and best practices to protect your capital, data, and codebase.

Secure Your API Keys
Your API keys give access to your account. Treat them like passwords.
- Never hardcode credentials into your scripts
- Use environment variables or .env files (with python-dotenv)
- Restrict permissions (e.g., disable withdrawal access)
- Whitelist IP addresses where supported
- Rotate keys regularly for added safety
Example of loading securely from .env:
# CopyEdit
from dotenv import load_dotenv
import os
load_dotenv()
API_KEY = os.getenv("BINANCE_API_KEY")
Make sure your .env file is excluded from version control using .gitignore.
Build in Fail-Safes
Don’t assume everything will always work.
- Use try/except blocks around all API calls
- Automatically close open positions if the bot crashes
- Set timeouts for network requests
- Log every action with timestamps to a file
- Include a manual override (e.g., a way to stop the bot externally)
System Reliability
- Use a watchdog process to restart the bot if it crashes
- Monitor system resources to avoid memory leaks or disk overflow
- Avoid infinite loops without sleeps, which can hit API rate limits or max CPU
Development Best Practices
- Test strategies in sandbox or on paper before going live
- Track bot versions and keep backups of working states
- Start small—use minimal capital and monitor for unexpected behavior
- Log trades, signals, and errors in a persistent and searchable format
A secure, well-monitored bot is essential for long-term success. Once your system is stable, you can begin to expand it—both in complexity and capability.
Where to Go From Here
By now, you’ve built a complete, functioning crypto trading system using Python and exchange APIs—from gathering data to live execution with risk controls and automation. But this is just the foundation. If you’re serious about algorithmic trading, there are many ways to deepen your skills and expand your system.
Advanced Features to Explore
- Portfolio Management — Move beyond a single pair and diversify across multiple assets with dynamic allocation strategies.
- Machine Learning Integration — Use models to detect patterns, forecast prices, or classify market regimes. Libraries like scikit-learn, XGBoost, or Prophet can be integrated easily.
- Sentiment Analysis — Pull and analyze social media or news data using NLP to inform your signals (e.g., Twitter, Reddit, news headlines).
- Multi-timeframe Strategies — Combine signals from different timeframes (e.g., 1h entries confirmed by daily trends) to improve accuracy.
- Web Dashboard or UI — Build a simple interface using Streamlit, Dash, or FastAPI to visualize performance, adjust parameters, or manually intervene when needed.
- Database Integration — Store trades and historical data in PostgreSQL or MongoDB for querying and analytics.
Recommended Resources
- Books:
Python for Algorithmic Trading by Yves Hilpisch
Advances in Financial Machine Learning by Marcos López de Prado - Courses:
QuantInsti (EPAT), Coursera’s Python for Finance, Udemy trading bot series - Communities:
GitHub (search: "crypto trading bot"), r/algotrading, Discord trading dev groups
Comments
Log in to post a comment
No comments yet
Be the first to share your thoughts!
| Avgifter | Insättningsalternativ | |||||||||
|---|---|---|---|---|---|---|---|---|---|---|
| Namn | Kryptos | Taker | Maker | Uttag | Banköverföring | Kreditkort | Trading API | Grundades år | Offer | |
|
Bybit
Contract Trading Exchanges
|
188 | 0.06% | 0.01% | 0.0005 | 2018 |
FÅ UPP TILL 600 USD I BONUS!
|
Besök | |||
|
Binance
Centralized Exchanges
|
433 | 0.10% | 0.10% | 0.0002 | 2017 |
FÅ UPP TILL USD 100 I VÄLKOMSTBONUS
|
Besök | |||
|
KuCoin
Centralized Exchanges
|
637 | 0.10% | 0.10% | 0.0005 | 2017 |
FÅ UPP TILL 500 USDT I VÄLKOMSTBONUS
|
Besök | |||
|
Coinbase
Centralized Exchanges
|
136 | 2.00% | 2.00% | 0.000079 | 2012 |
FÅ 5 USD I VÄLKOMSTBONUS
|
Besök | |||